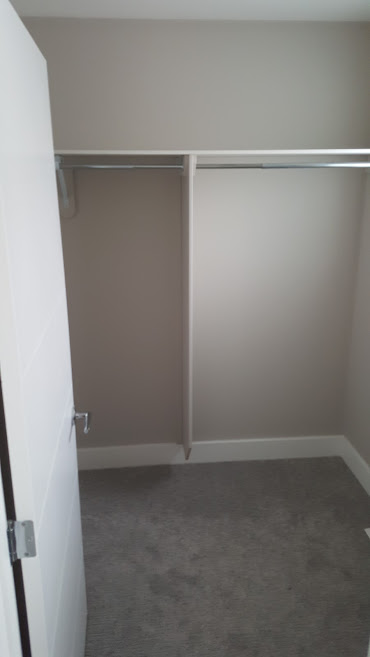
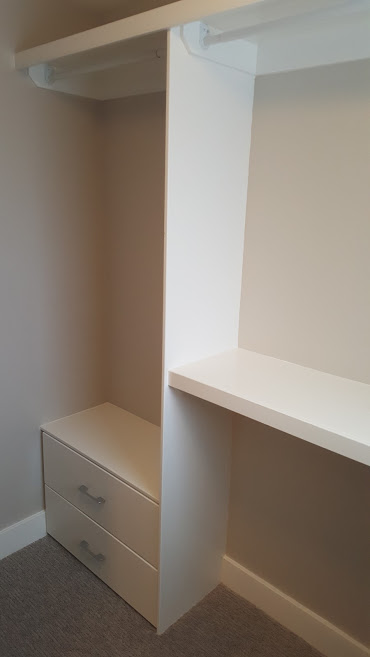
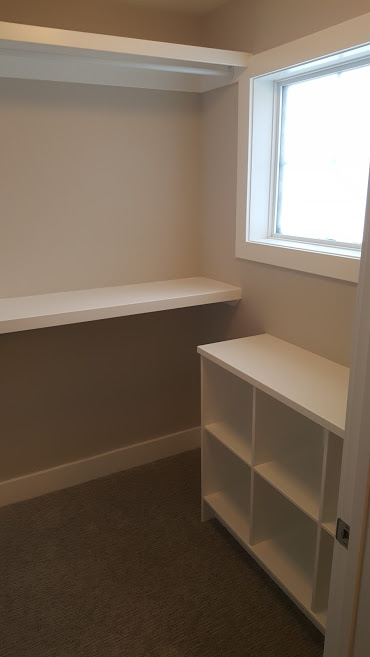
I recently tackled a project which has been on my to-do list since my wife and I moved into our new home last year. The master bedroom closet, although small, was full of potential and was completely underutilized in the previous design. As you can see from the first photos a single shelf and rod were all that were installed in this closet. It was a poor use of space as well as insufficient for a master suite.
Design and Layout
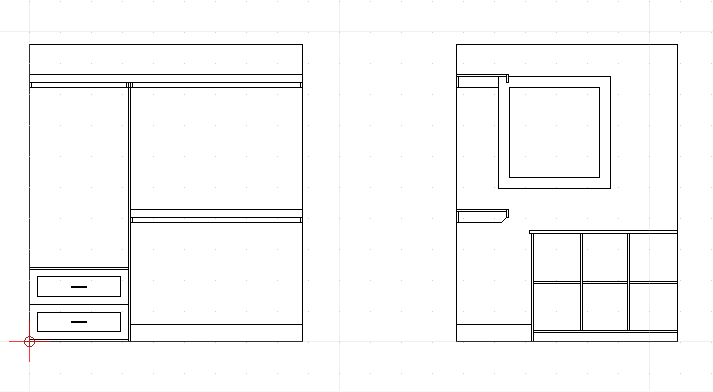
This project started with a few quick measurements that I took to make the drawing you see in the photo. These drawings allow me to experiment with different sizes, and configurations before the project
Before picture
Walk-in Closet Drawing
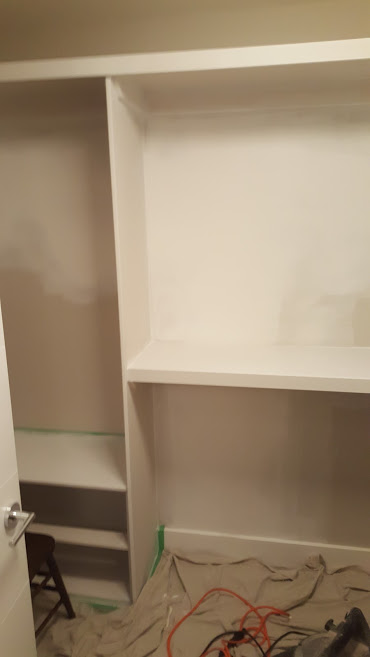
Paint and Primer
The finishing is a simple and yet tedious process. This is where many DIYers and even some professional painters cut some corners and ultimately it shows in the final work. First of all, every single nail hole is filled with a non-shrinking wood filler and sanded flat after it dries. Then every joint is caulked with a small bead of paintable caulking. Now we’re ready for primer. In new homes both paint and primer would be applied with a sprayer but in a finished home like this that isn’t practical so both are applied with a foam roller to leave as close to a sprayed finish as possible. Once the primer dries, I do 2 things before applying the paint. First, I go over everything and make sure I didn’t miss filling any nail holes or miss anything with the caulking. Second, I sand every square inch of every surface with a sanding sponge. When primer dries on
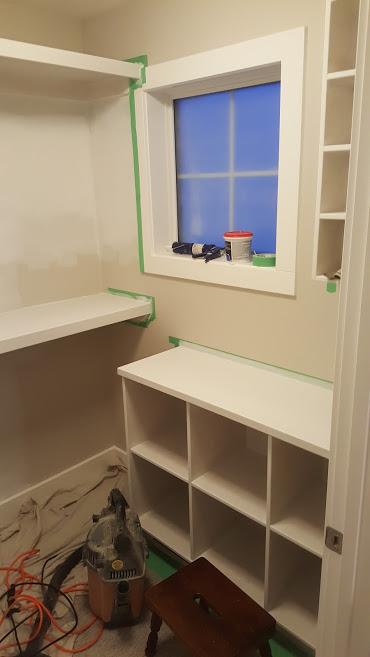
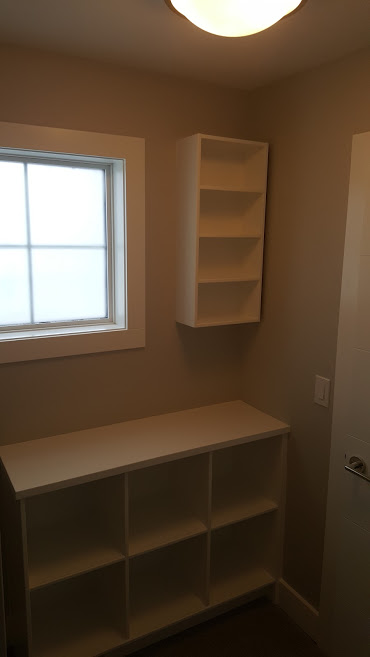
The Finished Product

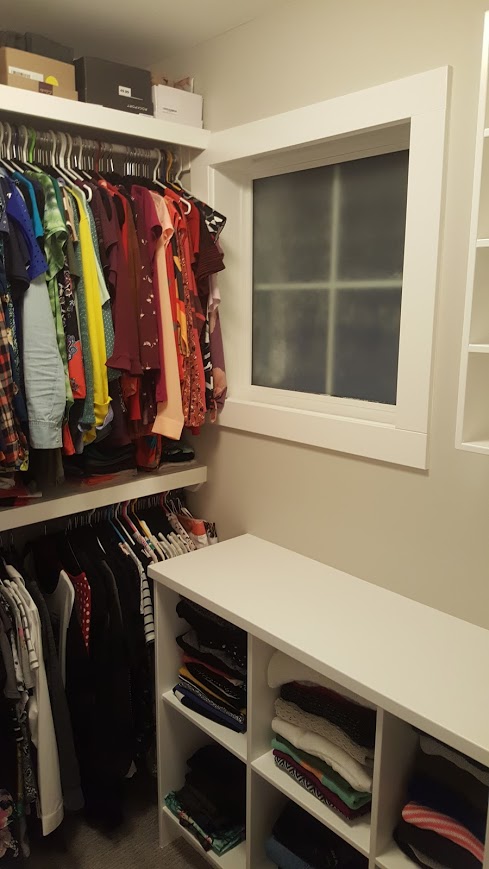
Designing, planning, preparation, and attention to details like these go into every one of our projects.